Mastercam Setup
This tutorial will go through opening SolidWorks parts in Mastercam, machine selection, part positioning, translation and rotation and stock setup.
Exploring Mastercam's Interface[edit | edit source]
| Image | Step |
|---|---|
|
Start the MasterCam | |
| |
|
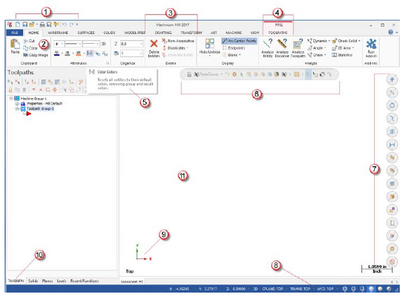
Quick Masks: A group of controls that helps you to select all entities of a certain type, or to select only entities of certain type. Most controls are divided in half. Clicking the left or right side of the control toggles between selection modes. When a Quick Mask control is selected it lights to indicate the selection mask is on. You can toggle multiple Quick Masks at a time. | |
|
Status Bar: A bar across the bottom of the workplace that shows the coordinate position of the cursor and provides quick access to modify the Cplane, Tplane, WCS, and Z depth of the geometry and toolpaths in the graphics window. The right side of the status bar has wireframe, shaded, and translucency controls that change appearance of your part. | |
|
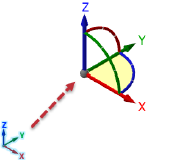
Dynamic Gnomon: The on –screen gnomon allows you to manipulate geometry and planes interactively. The gnomon comprise three axes connected at the origin, with selection points that let you choose different types transformations. | |
|
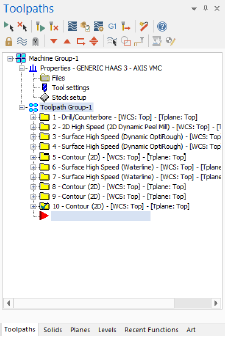
Toolpaths Manager: Lists the toolpaths groups and machine types for the current file. Use the toolpaths Manager to generate, sort, edit, regenerate, and post operations. | |
|
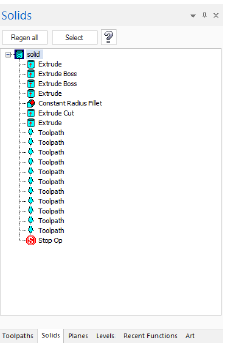
Solids Manager: Lists each solid in the current file along with its operation history and associated toolpaths. Use the Solid Manager to edit solids and their operations. | |
|
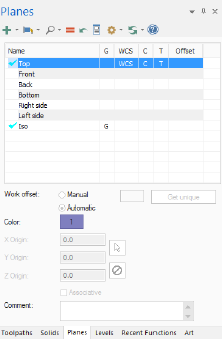
Planes Manager: Shows the planes in the current file. Use the Planes Manager to display, create, edit, select, and manage planes and work offsets. | |
|
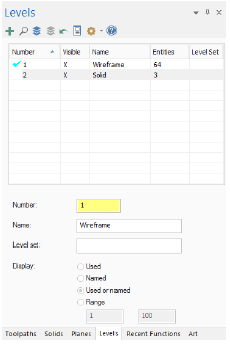
Levels Manager: Shows the levels in the current file. Use the levels Manager to create, select, hide or show levels, and set the active level. | |
|
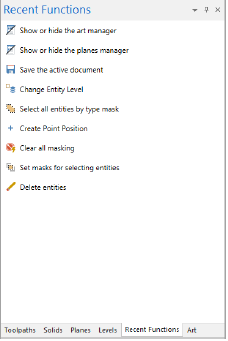
Recent Functions: Provides quick access to recently used functions. | |
|
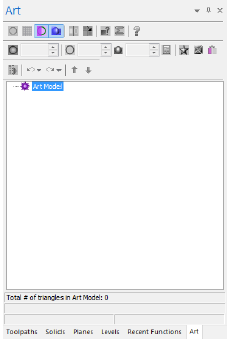
Art Manager: Manages the elements of the current Art model. (Only available if MasterCam Art is installed). | |
|
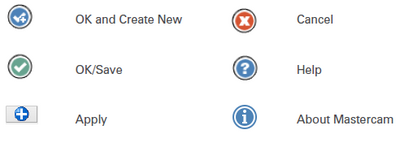
The following table shows common controls used in the MasterCAM interface. The icons may vary slightly depending on their location in MasterCAM. |
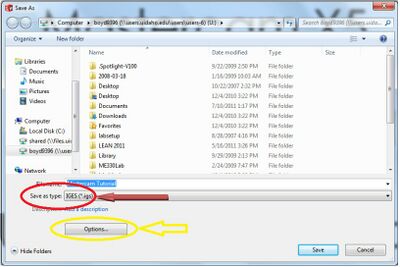
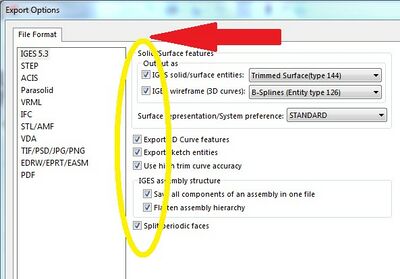
Saving SolidWorks Parts as IGES Files[edit | edit source]
| Image | Step |
|---|---|
|
Opening a SolidWorks Part in Mastercam[edit | edit source]
| Image | Step |
|---|---|
|
Selecting Machine Type[edit | edit source]
If you are using Mastercam at the University of Idaho, odds are you'll be using the HAAS Mill in the machine shop. Start by clicking 'Machine Type' from the uppermost toolbar. Then select 'Mill', 'Default'. You will change this later to the HAAS Mill in the machine shop using a different method, but always start with the default mill.
Positioning Your Part[edit | edit source]
- Start by selecting 'Shaded View'(the blue sphere), 'Isometric View'(cube with no shaded faces), and 'Fit'(blue arrows pointing out of a grey square).
- Press F9 to display the X-Y-Z axes.
- Select your part by clicking and dragging from upper left to lower right. This should turn your part from grey to yellow.
- Click on 'Dynamic XForm'(Red and purple square separated by a lightning bolt and blue arrow).
- Select the corner of your part that you would like to move and rotate about.
- Now click and drag the origin of the X-Y-Z axes, and drag it to the origin of your part.
XForm Rotation[edit | edit source]
Once the origin is set, you can rotate your part to move the desired face to the top view. Holding the mouse over the X,Y, or Z near the origin will display a circle of tick marks. Click on the letter corresponding to the desired direction of rotation to rotate your part. The part will automatically snap to the displayed 5 degree tick marks.
XForm Translation[edit | edit source]
Translating your part is moving it linearly along an axis. To do this in Mastercam, click on the arrow along the axis that you want to move your part along. Dragging the arrow to either side will move the part by set linear increments, displayed as a set of tick marks along the axis.
When your part is correctly positioned, click on the green check mark in the upper right corner of the viewing window to confirm your changes.
Stock Setup[edit | edit source]
Once your part is positioned and the origin is set, you will need to create your stock in Mastercam.
From the Design Tree on the left side of the screen, open 'Properties' and double click on "Stock setup". From here, you can either select bounding box, which will set the piece of stock to be the largest size of your part in each direction, or you can click the desired origin on the red cuboid and input your stock dimensions in the X, Y, and Z directions. Click on the green check mark when you are done.
Now is a great time to save your part, before adding any toolpaths.
