Printing Steps (MakerBot)
Jump to navigation
Jump to search
The printing steps for the MakerBot are listed below:
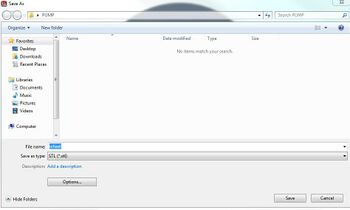
- Save your model as an "STL" file
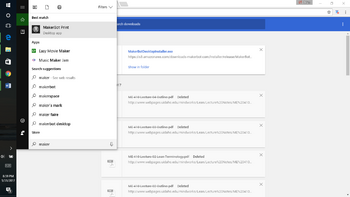
- Open your 3D printer desktop icon from start menu
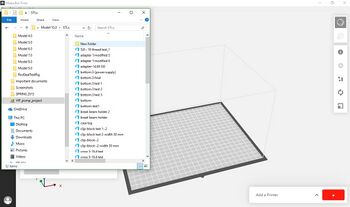
- Locate your STL file and drag it into the "Viewport"
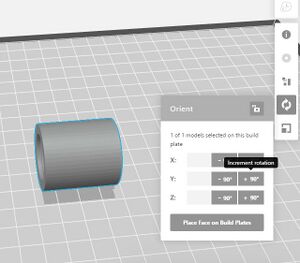
- Use the "View" tab to display various orientations or simply click and drag within the View Port to orient around your part. Rotate your part to a desired x,y,z orientation orientation by clicking either + or – 90 degress or enter values manually. Click lay flat to make sure the all the bottom part touches the glass plate. (Note: Most 3D printers print layers in a vertical fashion, thus choose your rotation such that edges do not create overhangs.)
- Move your part to a desired location by dragging the part around in the view port or enter values manually in the x, y, z format. Click on "Platform" to ensure your part is correctly placed on the 3D printing plate (printing surface).
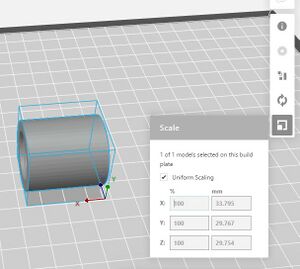
- Use the "Scale" tab to scale your part if necessary. Parts you open are initially at the scale from which they were modeled (i.e. SolidWorks, or other modeling software)
- Select the 3D printer model you wish to print from (i.e. MakerBot, Sindoh).
Recommended settings:
- Select "Standard" resolution
- Infill to 20%
- Set "Number of Shells" to 3
- Select "Raft" to help keep your part from warping. Typically for use with large parts or flat parts
- Turn on "Supports" if your part cannot be oriented in such a way to prevent overhangs.
- Click "Print" to begin exporting your model
- Click "Export Now" and save to your flash drive
- Place your flashdrive in the 3D printer and select "Print" from the file you just saved.
