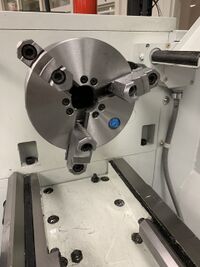
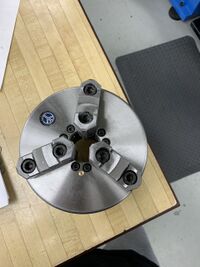
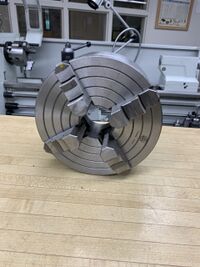
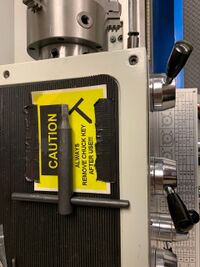
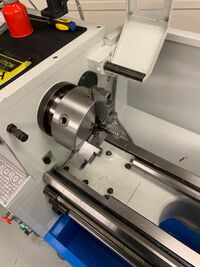
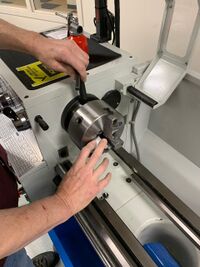
A chuck is a clamp that holds the stock you are working with in the lathe. The jaws are tightened or loosened with the chuck key, and move in to grasp the part. The process for swapping the three and four jaw chucks is identical.
Types of Chucks:
| Tool/Step |
Description
|
| Item |
Advantages |
Disadvantages
|
|
|
1. Work can be centered to high precision
|
1. Can't hold square bar-stock
2. Can't hold irregularly shaped work
3. Can't turn off-center
|
|
|
1. Work can be centered to high precision
2. Can handle square/rectangular bar
3. Can turn work off-center
4. Slightly more grip on round stock
|
1. Slower/fiddlier to mount work (dial-indicator required)
|
Note: Before removing the chuck from the spindle, place a way board across the bed ways under the chuck. A piece of wood is made to support the chuck.
Steps To Remove a Chuck:
| Tool/Step |
Description
|
|
|
First, grab the chuck key on the side of the lathe. Make sure to keep it in its place after using it.
|
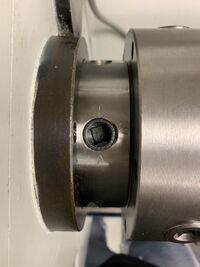 Step 2: Take machine out of gear |
Support the chuck while turning three cam locks 1/4 turn counter-clockwise with the chuck key.
|
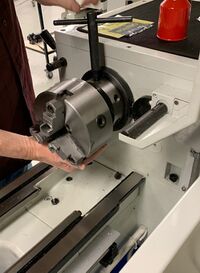 Step 3: Support the Chuck |
Now, carefully remove the chuck from the spindle and place on an adequate surface.
|
|
|
Inspect the cam lock studs. Make sure they have not become cracked or broken during ransit. Clean all the parts thoroughly with solvent. Also, clean the spindle and cam locks.
|
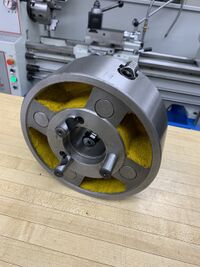 Step 5: Covering the chuck jaws |
Cover all chuck jaws and scroll inside the chuck with Mobilith® AM2. Cover the spindle, cam locks, and chuck body with a light film of Mobil DTE® Oil Heavy Medium.
|
Steps To Re-install a Chuck:
| Tool/Step |
Description
|
 Step 1: Lift the chuck up |
Before you start, make sure all the parts are clean. Lift the chuck up to the spindle nose and press onto the spindle.
|
|
|
Now, tighten in place by turning the cam locks 1/4 turn clockwise.
|
|
|
The index mark on the cam lock should be between the two indictor arrows. If the index mark is not between the two arrows, remove the chuck and adjust the cam lock studs by either turning out one full turn (if cams will not engage) or turning in one full turn (if cams turn beyond indicator marks).
|
