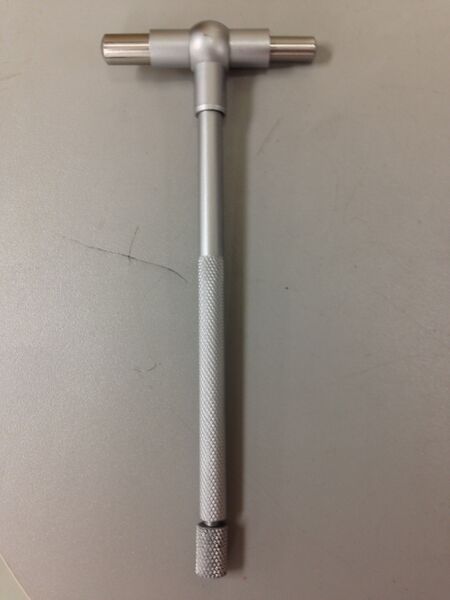
Telescoping Hole Gauge
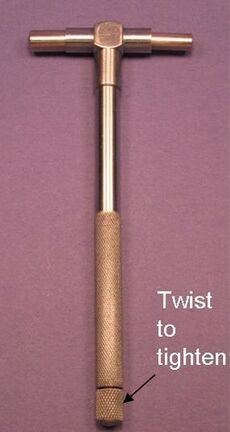
The Telescoping Hole Gauge is a measurement device that can give an accurate measurement of the inside diameter of a hole or the dimensions of a slot. It will provide the user an accurate measurement if used properly.
Location
This tool can be found in cabinet #5 in the Mechanical Engineering Machine Shop. It is found in the fourth drawer from the top labeled Thickness Indicator and Inside Diameter Indicator.
Function
The telescoping hole gauge is used to measure the diameter of holes, as well as to measure the inner dimensions of slots. The gauges found in Mechanical Engineering Machine Shop range from 5/16" to 6".
The basic function of these gauges is based on a lockable spring system. These springs push the cylinders out until they come in contact with pressure.
Use Overview
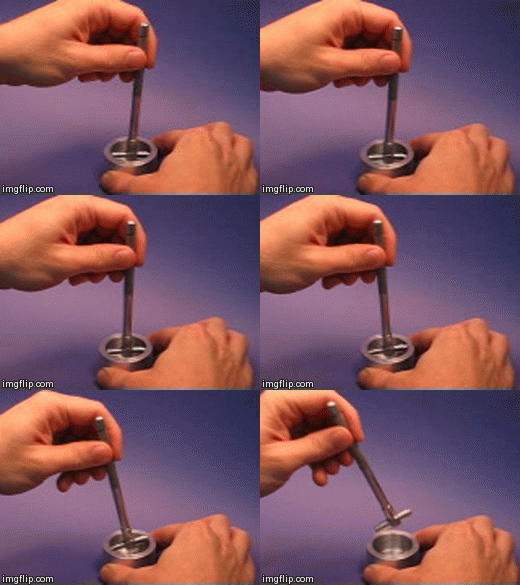
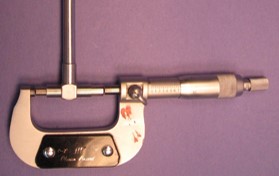
To begin with, the two protruding cylinders need to be unlocked so that they can be compressed. On the opposite end of the tool from the cylinders is a dial that locks the cylinders in their current position. With the springs compressed and locked, place the cylinder end in the hole or slot being measured. Unlock the tool, the cylinders will spring outward to match the distance between walls. Take out the hole gauge and measure the distance from the end of the cylinders with a micrometer.
How To Use
| Steps | Graphic | |
|---|---|---|
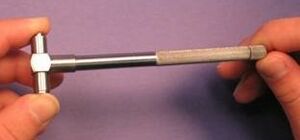
| 1.) Lock in Closed Position | ||
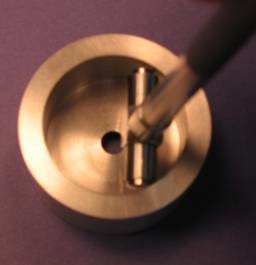
| 2.) Insert into hole (Be sure it is center inside of hole);) | ||
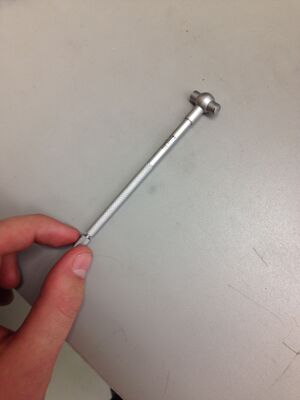
| 3.) Loosen the lock | ||
| 4.) Tighten the lock slightly | ||
| 5.) Rotate gauge to make sure that the diameter is being measured and Remove | ||
| 6.) Lock and Measure with Micrometer |
Tips
- Keep cylinders normal to the surfaces being measured.
- Eyeball a depth that has no edges on either surface; to avoid burrs.
- Center the head between the surfaces so that the two cylinders are near equal length
- Go easy on the micrometer so that the cylinders aren't compressed by the measurement
Supplier
MSC International Supply Co. [[1]]
