Outside Micrometer
Location[edit | edit source]
This tool can be found in cabinet #5 in the Mechanical Engineering Machine Shop. It can be found in different drawers depending on the measurements desired.
- This tool can also be found in the Metrology kit, which is located next to cabinet five. However in this kit the maximum measurement is 1 inch.
Description[edit | edit source]
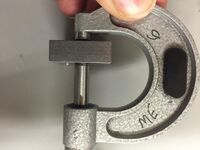
An outside micrometer is used to measure external surfaces of shafts, blocks, spheres and various common shapes in mechanical engineering. These micrometers are the most common micrometers used in manufacturing and some can be found in the Mechanical Engineering Shop in Gauss Johnson. Outside micrometers are available in the shop in 1", 2", 3", 4", 5", 6", 7", 8", 9", 10", 11" and 12" sizes. Outside micrometers measure 1" increments and are accurate to 4 decimal places.
Function[edit | edit source]
How to Operate[edit | edit source]
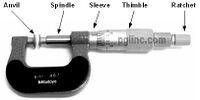
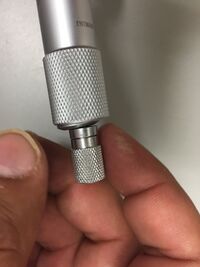
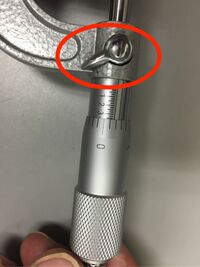
Micrometers measure various dimensions by spinning the thimble until the spindle makes contact with a surface. Generally, once contact is made with an external surface, the user will turn the ratchet knob and slide the micrometer back and forth on the surface. The micrometer should drag on the surface but transverse movement should still be achieved. Once this is obtained, the user will engage the lock nut and remove the micrometer from the surface. This procedure is the same for all external micrometers.
How to Read[edit | edit source]
In the shop, students will primarily find micrometers measuring in English units.
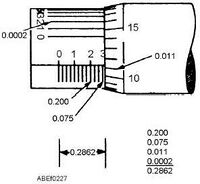
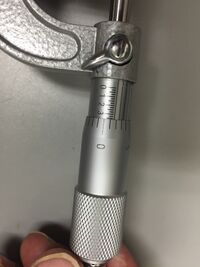
The English micrometer above is similar to those available in the shop. On the sleeve, the measurements of the micrometer are labeled in one-tenth of an inch increments with each line on the sleeve indicating 25-thousandths of an inch. As indicated in the above picture, the last exposed line is the measurement that is recorded. In this case, .15" is the last line exposed. It is beneficial to the user to write these numbers down until one is familiar with reading a micrometer. Next the user will direct his/her attention to the thimble measurement. Use the horizontal line on the sleeve to reference the thimble measurement. The last line shown on the thimble below the horizontal sleeve line is the number in ten-thousandths that will be added to the dimension. In this example, the number is .011". If the number on the thimble aligns exactly with the horizontal sleeve line, then the measurement is exactly .011". However, in this example, the thimble is turned slightly passed .011" and therefore the user must direct his attention to the line the aligns most closely with the small numbers printed around the sleeve known as the vernier. As seen in the above example, the line associated with "3" on the vernier aligns perfectly with a line on the thimble. This measurement is your one ten-thousandth measurement. In this example the measurement is .0003". If this micrometer is a 1" micrometer the measurement would be .1613". If it were a 2" micrometer the measurement would be 1.1613". Each micrometer measures 1" precisely and is labeled by its maximum measurement. Therefore, typically you subtract 1" from the designated number of inches the micrometer is and add that value to your measurement. For example, if you have a 5" micrometer, add 4" to your reading. If you have a 12" micrometer, add 11" to your reading.
Step-by-Step Use[edit | edit source]
| Steps | Graphical Display | Other Images or Tips |
|---|---|---|
| 1) Hold the micrometer with the dial numbers facing you where you can see it clearly. | ||
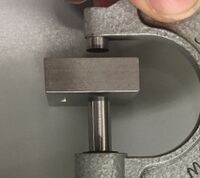
| 2) Place the object being measured between the spindle and the anvil. | ||
| (3) Twist Thimble and ratchet until it comes in contact with the surface of the object being measured. | ||
| (4) Lock the micrometer with the lock nut, to allow for easy reading. | ||
| (5) Use the reading callout on the sleeve to determine the measurement. |
Tips[edit | edit source]
1) To calibrate the micrometer you can use the Gage Blocks located in the same cabinet.
2) Clean surface of object before measuring.
3) Sometimes it is easier to measure when the object is placed on a flat surface, such as a table.
4) QR Code for easy access.


