Swapping Lathe's Three and Four Jaw Chucks
Jump to navigation
Jump to search
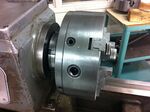
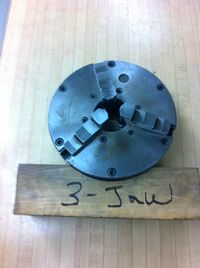
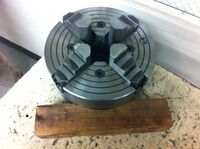
A chuck is a clamp that holds the stock you are working with in the lathe. The jaws are tightened or loosened with the chuck key, and move in to grasp the part. The process for swapping the three and four jaw chucks is identical.
Types of Chucks[edit | edit source]
| Tool/Step | Description |
|---|
| Item | Advantages | Disadvantages |
|---|---|---|
| 1. Work can be centered to high precision | 1. Can't hold square bar-stock
2. Can't hold irregularly shaped work 3. Can't turn off-center | |
| 1. Work can be centered to high precision
2. Can handle square/rectangular bar 3. Can turn work off-center 4. Slightly more grip on round stock |
1. Slower/fiddlier to mount work (dial-indicator required) |
How To Remove a Chuck[edit | edit source]
| Tool/Step | Description |
|---|---|
| First, grab the chuck wrench on the side of the lathe. Next, grab a lead mallet from the number 6 toolbox | |
| Now take the lathe out of gear. To do this, push in the wheel at the end of the lathe as shown on the far left. Next, pull out the handle as shown. This locks the spindle. Rotation of the chuck by hand may be needed to lock everything in place.
DO NOT TURN ON THE LATHE WITH THE SPINDLE LOCKED! | |
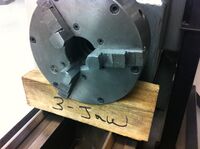
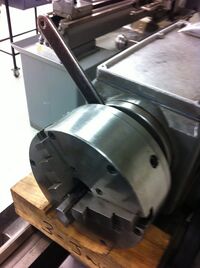
| Now, put the correct block under the chuck. The blocks are found on the cart near the two lathes. This ensures that the chuck won't fall. If it falls it could damage the rails, and also hurt the user. | |
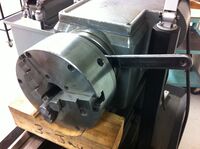
| Next, put the chuck wrench around the collar as shown. | |
| To loosen the chuck, turn the wrench to the right (facing the chuck). Once the chuck disconnects from the collar, pull the chuck out and replace. |
How to Re-install a Chuck[edit | edit source]
| Tool/Step | Description |
|---|---|
| Place the chuck onto the proper wood block so it is stable and easier to install. | |
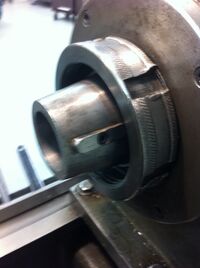
| Now, locate the key on the lathe. Line up the keyway on the chuck with this key. Slide the chuck onto the lathe. | |
| Next start the threads by hand to ensure you don’t cross thread them and damage the threads. This can be a tedious step. The bottom of the chuck may need to be pushed in some to start the threads. | |
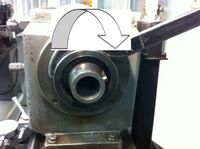
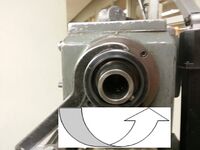
| Now to tighten the collar, turn the wrench to the left as the arrow shows. To make sure it is tight, after bringing it tight by hand, hammer the wrench another 1/8 of a turn, or until it feels tight. Once the new chuck is tight, unlock the spindle so the lathe is ready to use.
DO NOT TURN ON THE LATHE WITH THE SPINDLE LOCKED! As Always, Put everything away and make sure no tools are on the lathe when you start it. |
